Auxiliary diesel heater retrofit for VW T5 / T6
Underfloor installation kit for the Autoterm Air 2D using the factory-designed mounting position in the VW T5 / T6.
Key advantages
- Uses the original underfloor mounting position on the passenger side
- Complete kit including heater and vehicle-specific installation components
- Integration into OEM warm air ducting in the B-pillar
- Robust auxiliary diesel heater with E-mark certification
- Suitable for self-installation without TÜV approval
- Altitude kit included for reliable operation at high elevations
This underfloor installation kit allows you to retrofit an Autoterm Air 2D auxiliary diesel heater into your VW T5 or T6 using the factory-intended mounting position. The heater is installed on the passenger side underneath the vehicle, between the step and the B-pillar.
The result is a particularly clean and space-efficient installation that closely resembles an OEM solution.
Scope of delivery and system concept
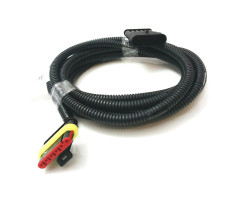
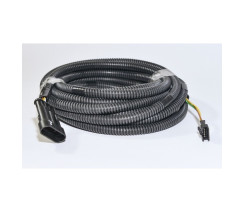
- Autoterm Air 2D diesel heater
- Stainless steel mounting flange for underfloor installation
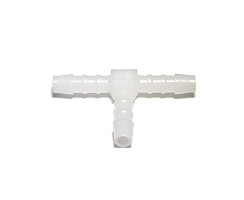
- Components required to realise air intake through the step area
- Adapter for connection to OEM VW warm air ducts in the B-pillar
Important: The air duct components for the B-pillar are not included and must be ordered from Volkswagen. A list of required part numbers will be provided automatically after purchase.
Based on experience, these parts typically cost less than EUR 150. This is an estimate only and may vary depending on current VW pricing.
Detailed installation documentation:
Autoterm Air 2D installation guide VW T5 / T6
Autoterm Air 2D heater
The Autoterm Air 2D (formerly Planar 2D) is a well-proven auxiliary diesel heater designed for continuous use in camper vans and expedition vehicles.
It features E-mark certification and can be installed without TÜV approval. Self-installation does not affect warranty.
The system is designed for serviceability, allowing many repairs to be carried out independently if required.
Maintenance
The only essential maintenance requirement is regular high-load operation.
If the heater is mainly used at low output, it should be operated at maximum power for approximately 30 minutes every 1–2 weeks to prevent carbon build-up.
Operation at high altitude
Diesel combustion systems are sensitive to altitude due to reduced oxygen levels. The integrated altitude kit automatically adjusts fuel delivery to compensate for changing air pressure.
This system has been tested in real conditions and proven to operate reliably even at altitudes above 5000 m.
Important:
After returning to lower altitude, the heater should be operated at full load to ensure proper cleaning.
Control units and operation
A control unit is included in the scope of delivery. You can choose between the following options:
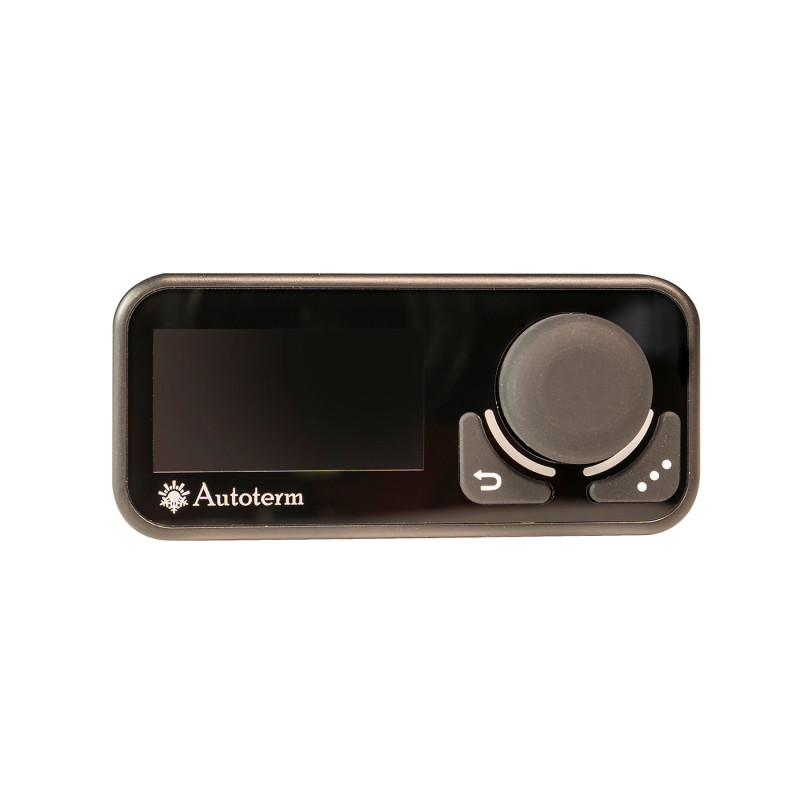
Comfort Control
Control unit with multifunction rotary knob and display: simple operation, timer function, voltage display and thermostat mode. A proven all-round solution with burn-off reminder and integrated low-voltage protection to safeguard the leisure battery.
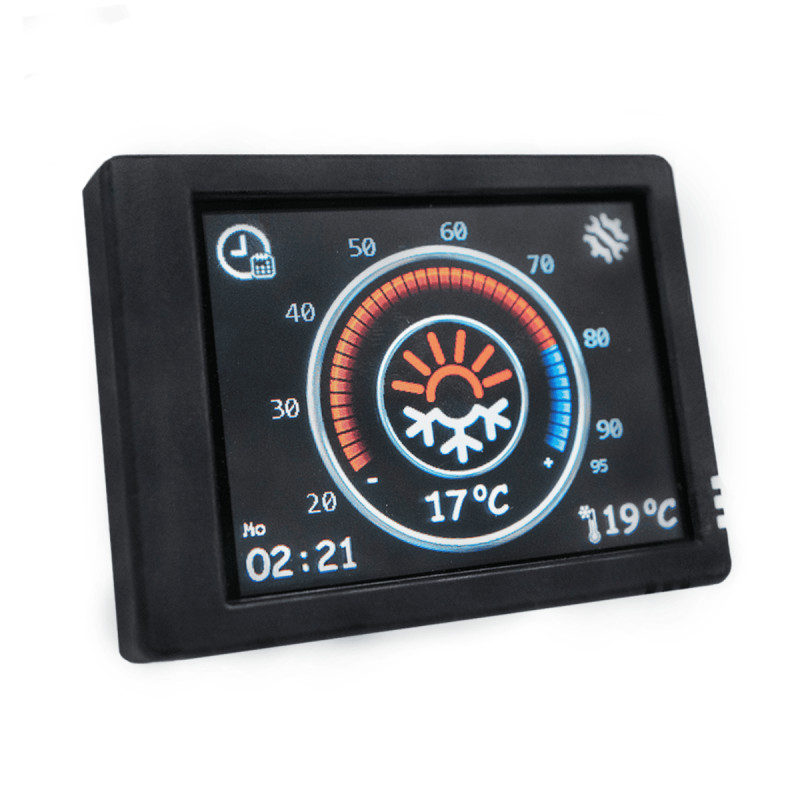
Touch Control
Modern touch control unit with a clear menu structure. Suitable if you prefer intuitive operation and want to monitor system status at a glance.
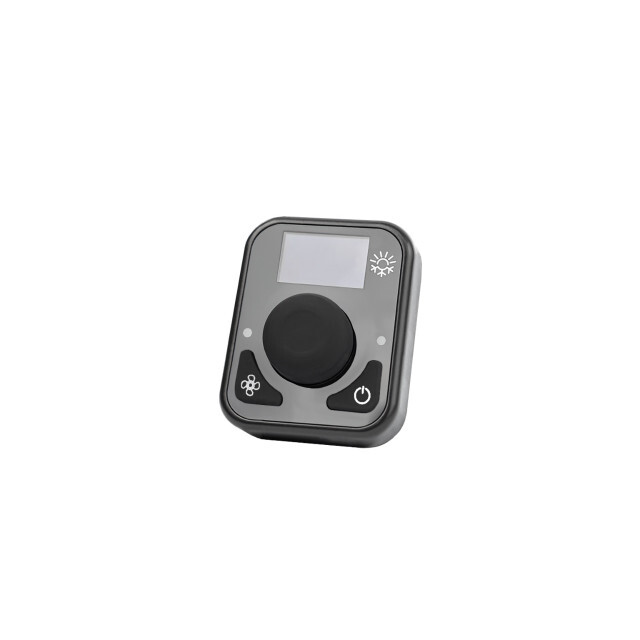
Mini Control
Basic control unit for adjusting heater output levels. Temperature-based control requires an optional external temperature sensor.
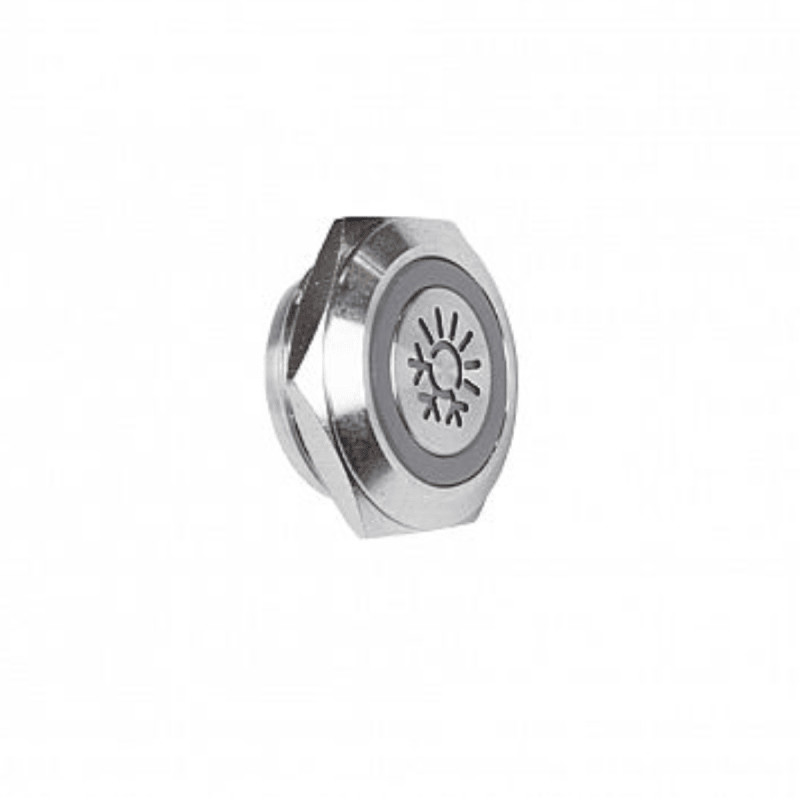
Push Control (optional)
Compact secondary control button for basic operation (on/off and output levels). Since 2025, two control units can be connected simultaneously, for example one in the living area and one near the bed.
Technical data
- Supply voltage: 12 V
- Heating output: 0.8 kW (min) / 2 kW (max)
- Airflow: 34 m³/h (min) / 75 m³/h (max)
- Fuel consumption: 0.1 l/h (min) / 0.24 l/h (max)
- Power consumption: 10 W (min) / 29 W (max)
Dimensions
- Length: 33 cm
- Height: 12 cm + 2.5 cm connections
- Width: 12 cm
- Weight (heater only): 2.86 kg
manufacturer information:
tigerexped GmbH & Co. KG
Weseler Str. 82
Alpen, 46519
NRW, DE
info@tigerexped.de
responsible person:
tigerexped GmbH & Co. KG
Weseler Str. 82
Alpen, 46519
NRW, DE
info@tigerexped.de
Videos
vehicle: |
Volkswagen T6 |
max. power: |
2kW |
Voltage: |
12V |
control: |
Comfort Control Panel |
All reviews: